

 |
| From Fly-patterns |
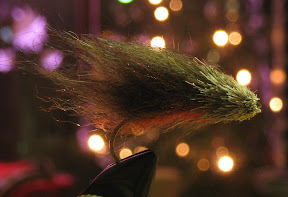
Deer hair is an important material for many flies from small dry flies to big streamers and even salmon dry flies. It seems to me that the skill of fly tier can be judged by how he or she can work with deer hair. This is probably an oversimplification, but it might tell something.
 |
| From Fly-patterns |
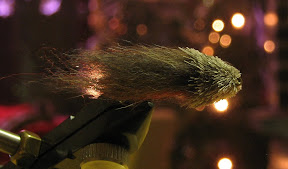
At times I have avoided tying deer hair flies, but that is about to stop. I’ll tie more of them and try to improve my skills. I have read many articles which aim to making of deer hair heads and bodies. Some of them give good tips, but the practice is most important thing here.
 |
| From Fly-patterns |
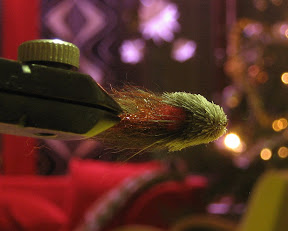
Here are some common uses of deer hair in fly tying:
- Heads of streamers of dry flies (mainly Muddlers, Sculpins, Poppers, Hoppers)
- Wings of dry flies (X-Caddis, Sparkle Dun, Elk Hair Caddis)
- Body of a dry fly (Goddard Caddis)
Here are my top five tips for deer hair:
1. Use strong enough thread
2. Use ceramic bobbin
3. Experiment with lots of different deer hair types (I have about 10 different patches of deer hair)
4. Different deer hair might require different thread and slightly different tying methods
5. Have patience
No comments:
Post a Comment